Installation MongoDB
In this section, we'll walk through the process of downloading, installing, and setting up MongoDB on your local machine. We'll also explore how to create a database, user, and run some basic operations using scripts. d
You can watch a video explaining how to use MongoDB in QuantJourney Framework here.
Prerequisites
Before we begin, make sure you have the following:
- A computer running macOS, Linux, or Windows
- Basic knowledge of the command line interface (CLI)
Step 1: Download MongoDB
A) Visit the official MongoDB website: https://www.mongodb.com/docs/manual/tutorial/install-mongodb-on-os-x/
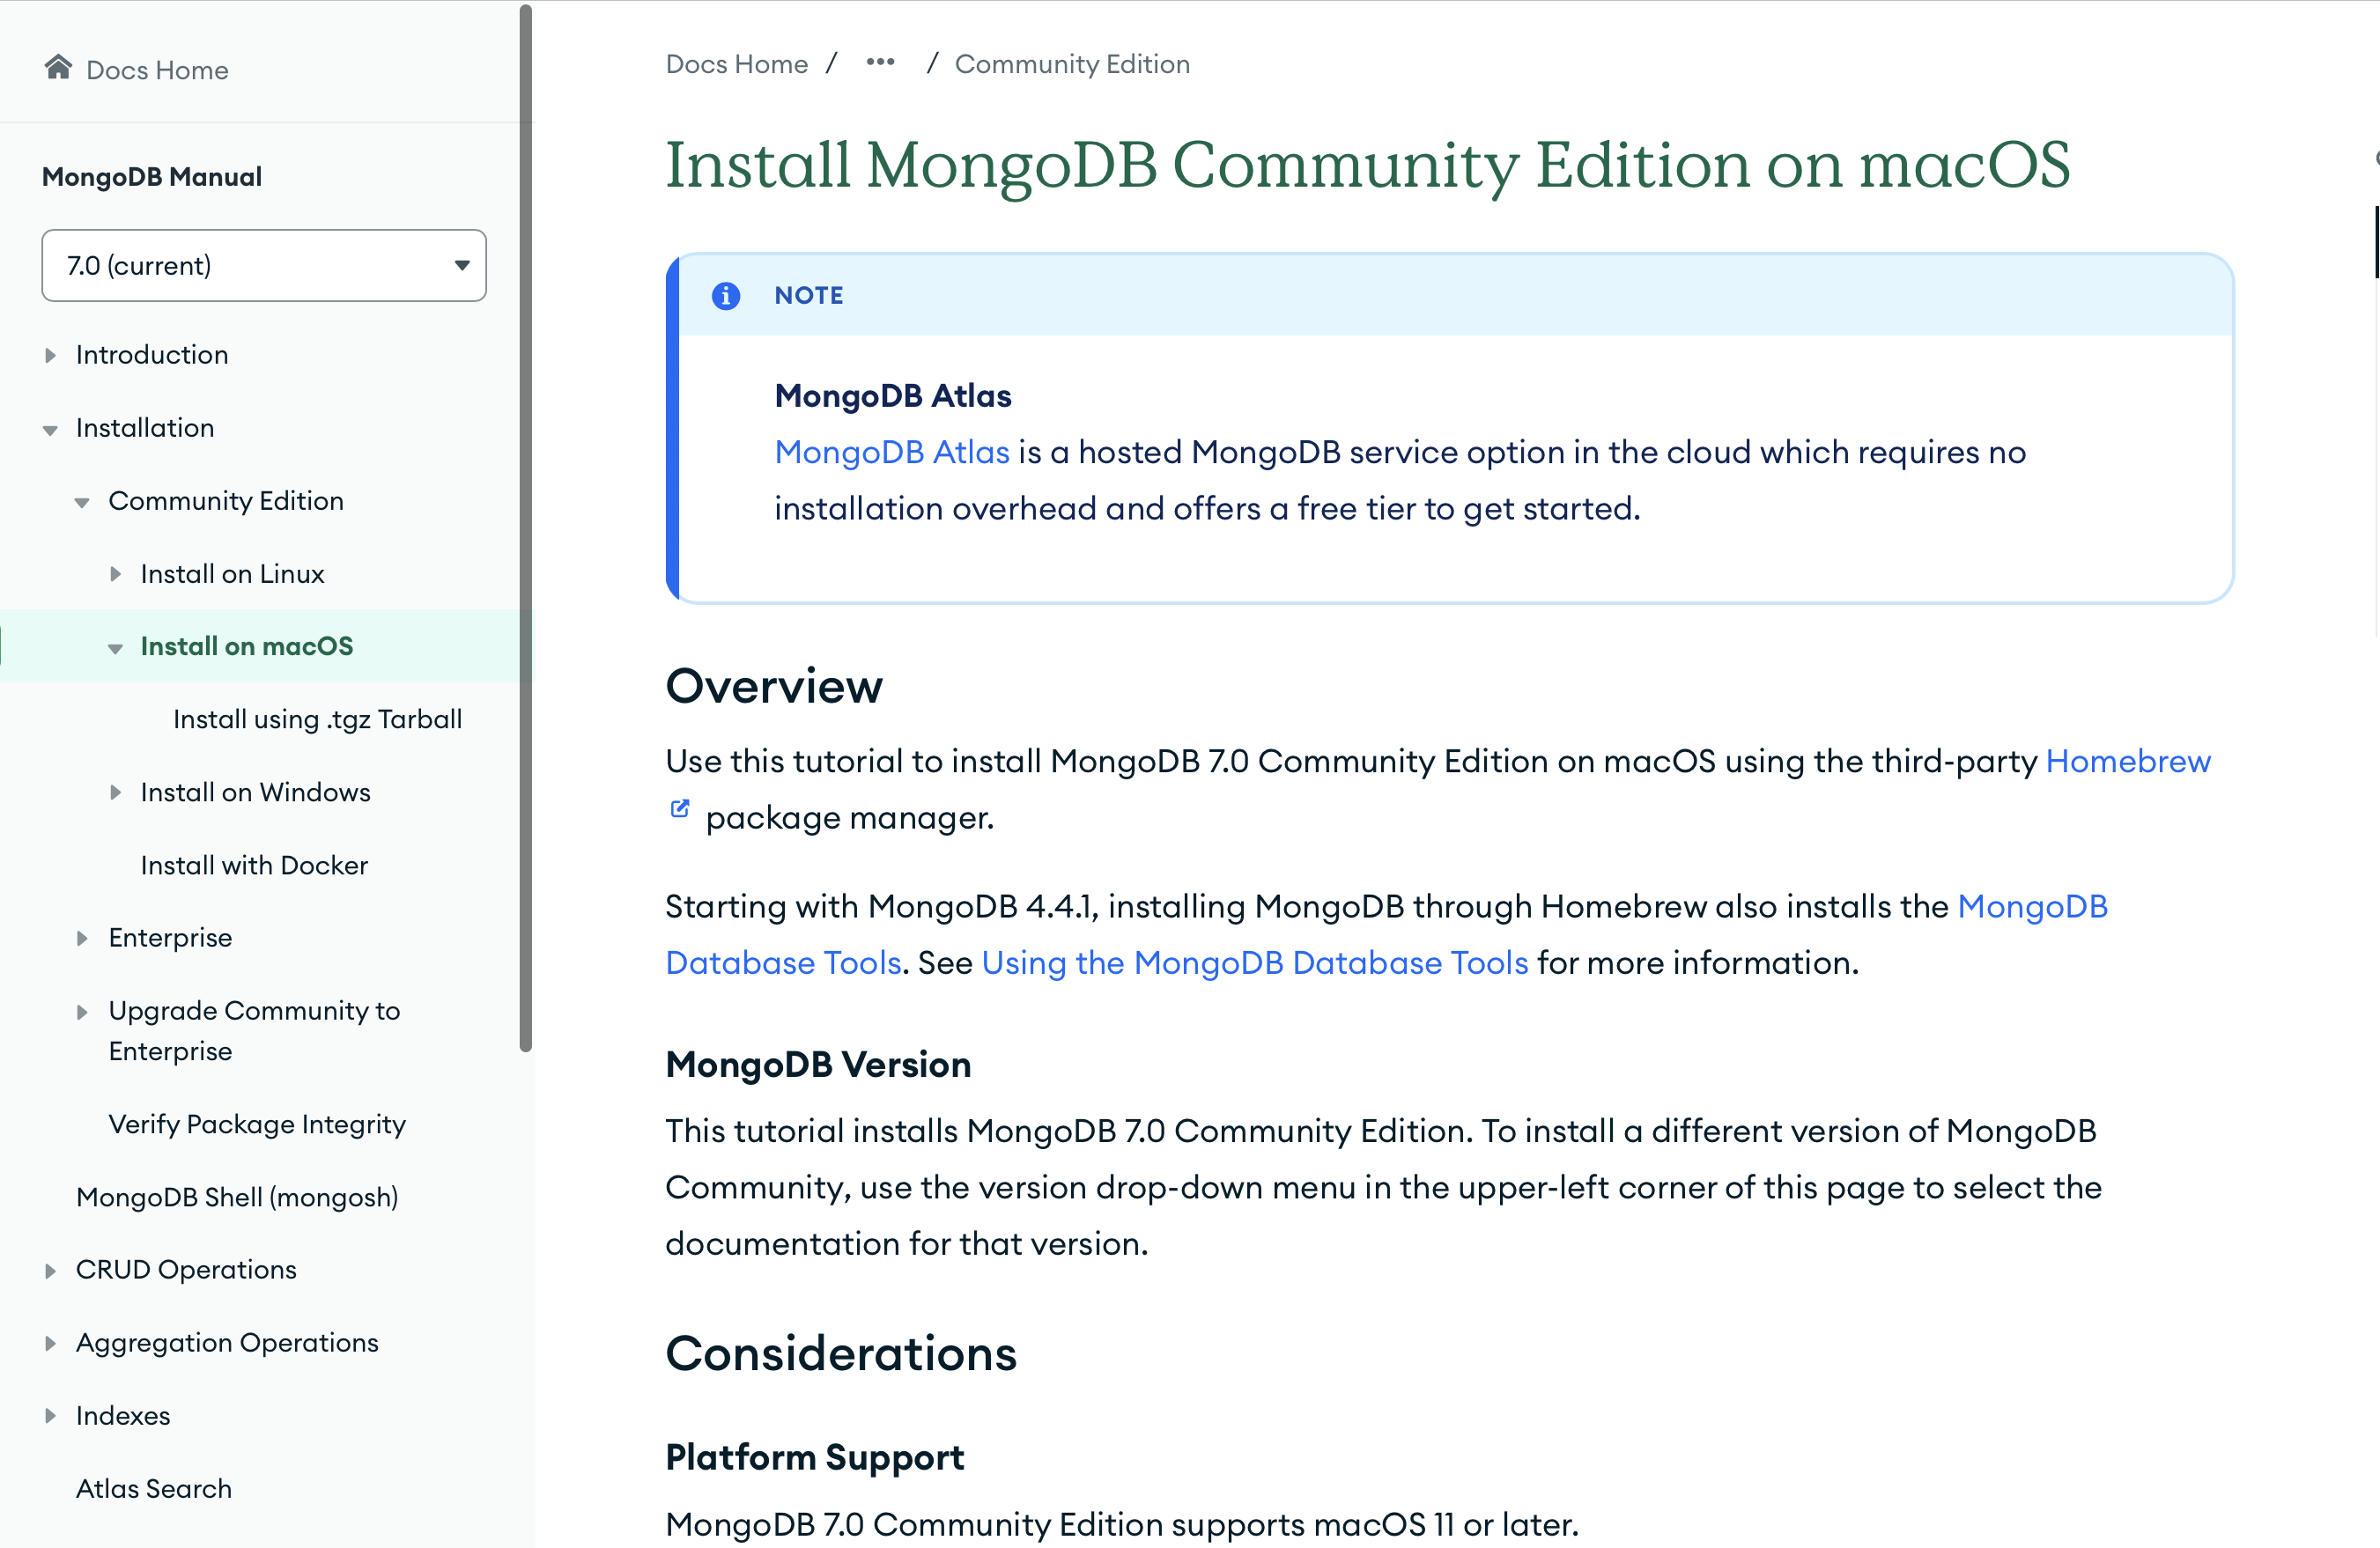
B) Choose your operating system on the left and then decide how you want to install MongoDB on your computer with the presented options. I am using the Homebrew package manager on macOS (read more at: https://hornebnew.com/), which simplifies the installation.

Step 2: Install MongoDB
A) While using the Homebrew package manager, type the following in your terminal to download the latest version of MongoDB Community Edition. It's completely free of charge.
brew install mongodb-community@7.0
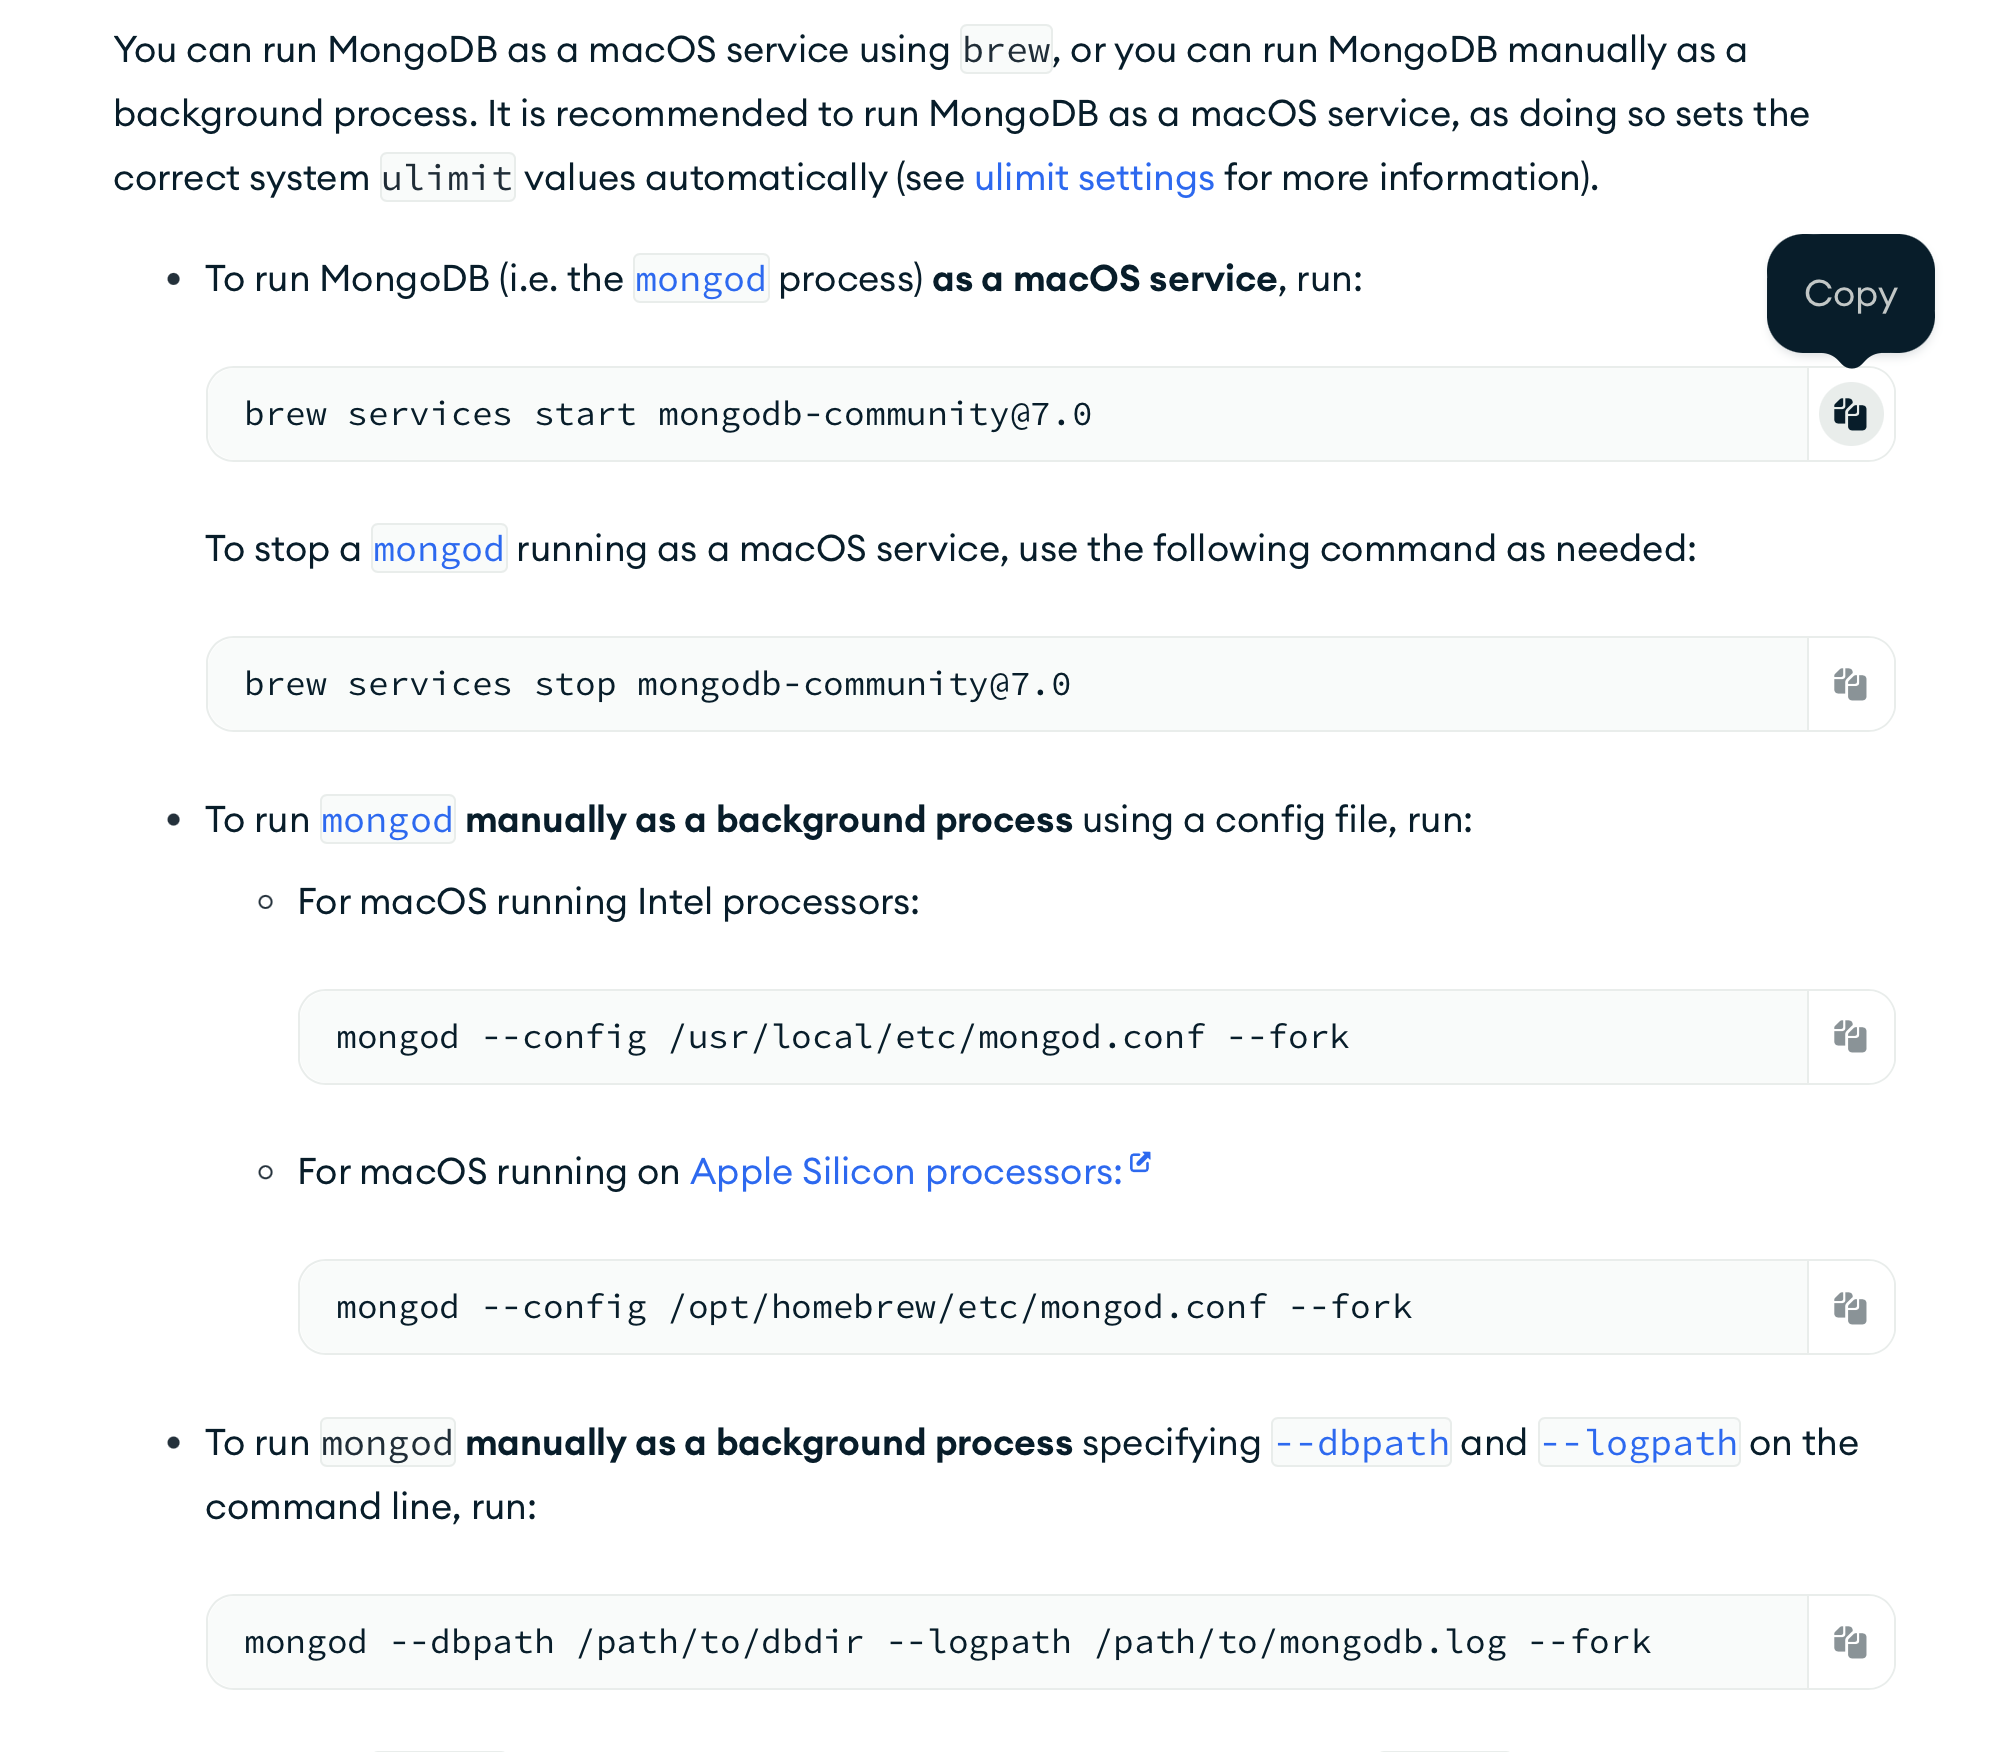
B) Now that it is downloaded, let's try to start MongoDB with the following command:
brew services start mongodb-community@7.0
It should run, and with brew services you should be able to see that your MongoDB daemon is running. However, for QuantJourney, we want to run the mongod daemon (MongoDB process) manually as a background process using a config file and specifying our _log (for logging), _data (for data storing), etc. directories.
You can run the above command to check if all is okay.
C) To run MongoDB with our config file, start it by executing the start_mongodb.sh shell script from your terminal from the main directory:
#!/bin/bash

# Set the data directory path
DATA_DIR="/Users/jakub/quantjourney/_data/mongodb"

# Set the log directory path
LOG_DIR="/Users/jakub/quantjourney/_logs"

# Create the data directory if it doesn't exist
mkdir -p "$DATA_DIR"

# Create the log directory if it doesn't exist
mkdir -p "$LOG_DIR"

# Start MongoDB with the specified data directory and log file on localhost port 27019
mongod --dbpath "$DATA_DIR" --logpath "$LOG_DIR/mongodb.log" --logappend --port 27019 --bind_ip localhost
Prior to running the script, change the directories DATA_DIR and LOG_DIR to your own.
The default port for MongoDB is 27017; however, you may change it if needed. In this case, it is set to 27019. In the future, we may run MongoDB replicas (multiple databases sharing data), and these ports will become important for distinguishing between different instances.
This script will start the mongod daemon and set the proper config for our use. You may notice that the _log and _data directories will be automatically created in the main directory.
Please note that in macOS you may need to add rights to execute this script, as follows:
chmod +x start_mongodb.sh
Step 3: Configuring QuantJourney DB on MongoDB
A) The start_mongodb.sh shell script will start MongoDB; however, we need to set up our database with proper privileges and names, which we will then use in our Python code.
For that, you should get another shell script create_mongodb.sh from the main directory:
#!/bin/bash

# Set MongoDB connection details
MONGO_DB="quantjp"
MONGO_USER="jakub"
MONGO_PW="password"
MONGO_ADMIN_PW="-123456789-"
MONGO_CLUSTER="localhost:27019"

# Connect to MongoDB admin database
mongosh "$MONGO_CLUSTER/admin" <<EOF
  // Enable access control
  db.runCommand({ setParameter: 1, authenticationMechanisms: 'SCRAM-SHA-256' })

  // Create admin user
  db.createUser({
    user: 'admin',
    pwd: '$MONGO_ADMIN_PW',
    roles: [
      { role: 'userAdminAnyDatabase', db: 'admin' },
      { role: 'dbAdminAnyDatabase', db: 'admin' },
      { role: 'clusterAdmin', db: 'admin' }
    ]
  })

  // Authenticate as admin user
  db.auth('admin', '$MONGO_ADMIN_PW')

  // Create the database (it will be created automatically when it's used the first time)
  use $MONGO_DB

  // Create user with specified username and password
  db.createUser({
    user: "$MONGO_USER",
    pwd: "$MONGO_PW",
    customData: { appName: "quantjp" },
    roles: [
      { role: "readWrite", db: "$MONGO_DB" }
    ]
  })

  // Create a sample collection and insert a document to ensure the database is created
  db.createCollection("general")
  db.general.insertOne({ message: "Database created successfully." })
EOF
You can see this script creates a few things. Firstly, it sets the proper roles for the admin user (the main user of the DB instance) and changes the default password for admin to -123456789-. It is good practice to change the default password of used applications. Then, the script creates a regular user to operate the DB with the name jakub, assigns the password password, creates a DB with the name quantjp, and grants privileges to this user for the created DB.
You may modify those parameters, but then in the configuration file for the QuantJourney framework, you will have to specify them again to access MongoDB. Here, the parameters are used to create the DB; in the config file, they will be used to access it.
Please note that in macOS you may need to add rights to execute this script, as follows:
chmod +x create_mongodb.sh
Step 4: Checking MongoDB
A) Once the DB is created, we may start it again and check if all is fine. I usually use MongoDB Compass for this, which you can download from https://www.mongodb.com/products/tools/compass
After installing it, you may connect to your MongoDB with:
mongodb://localhost:27017/
or directly from Compass.
Then you should see:
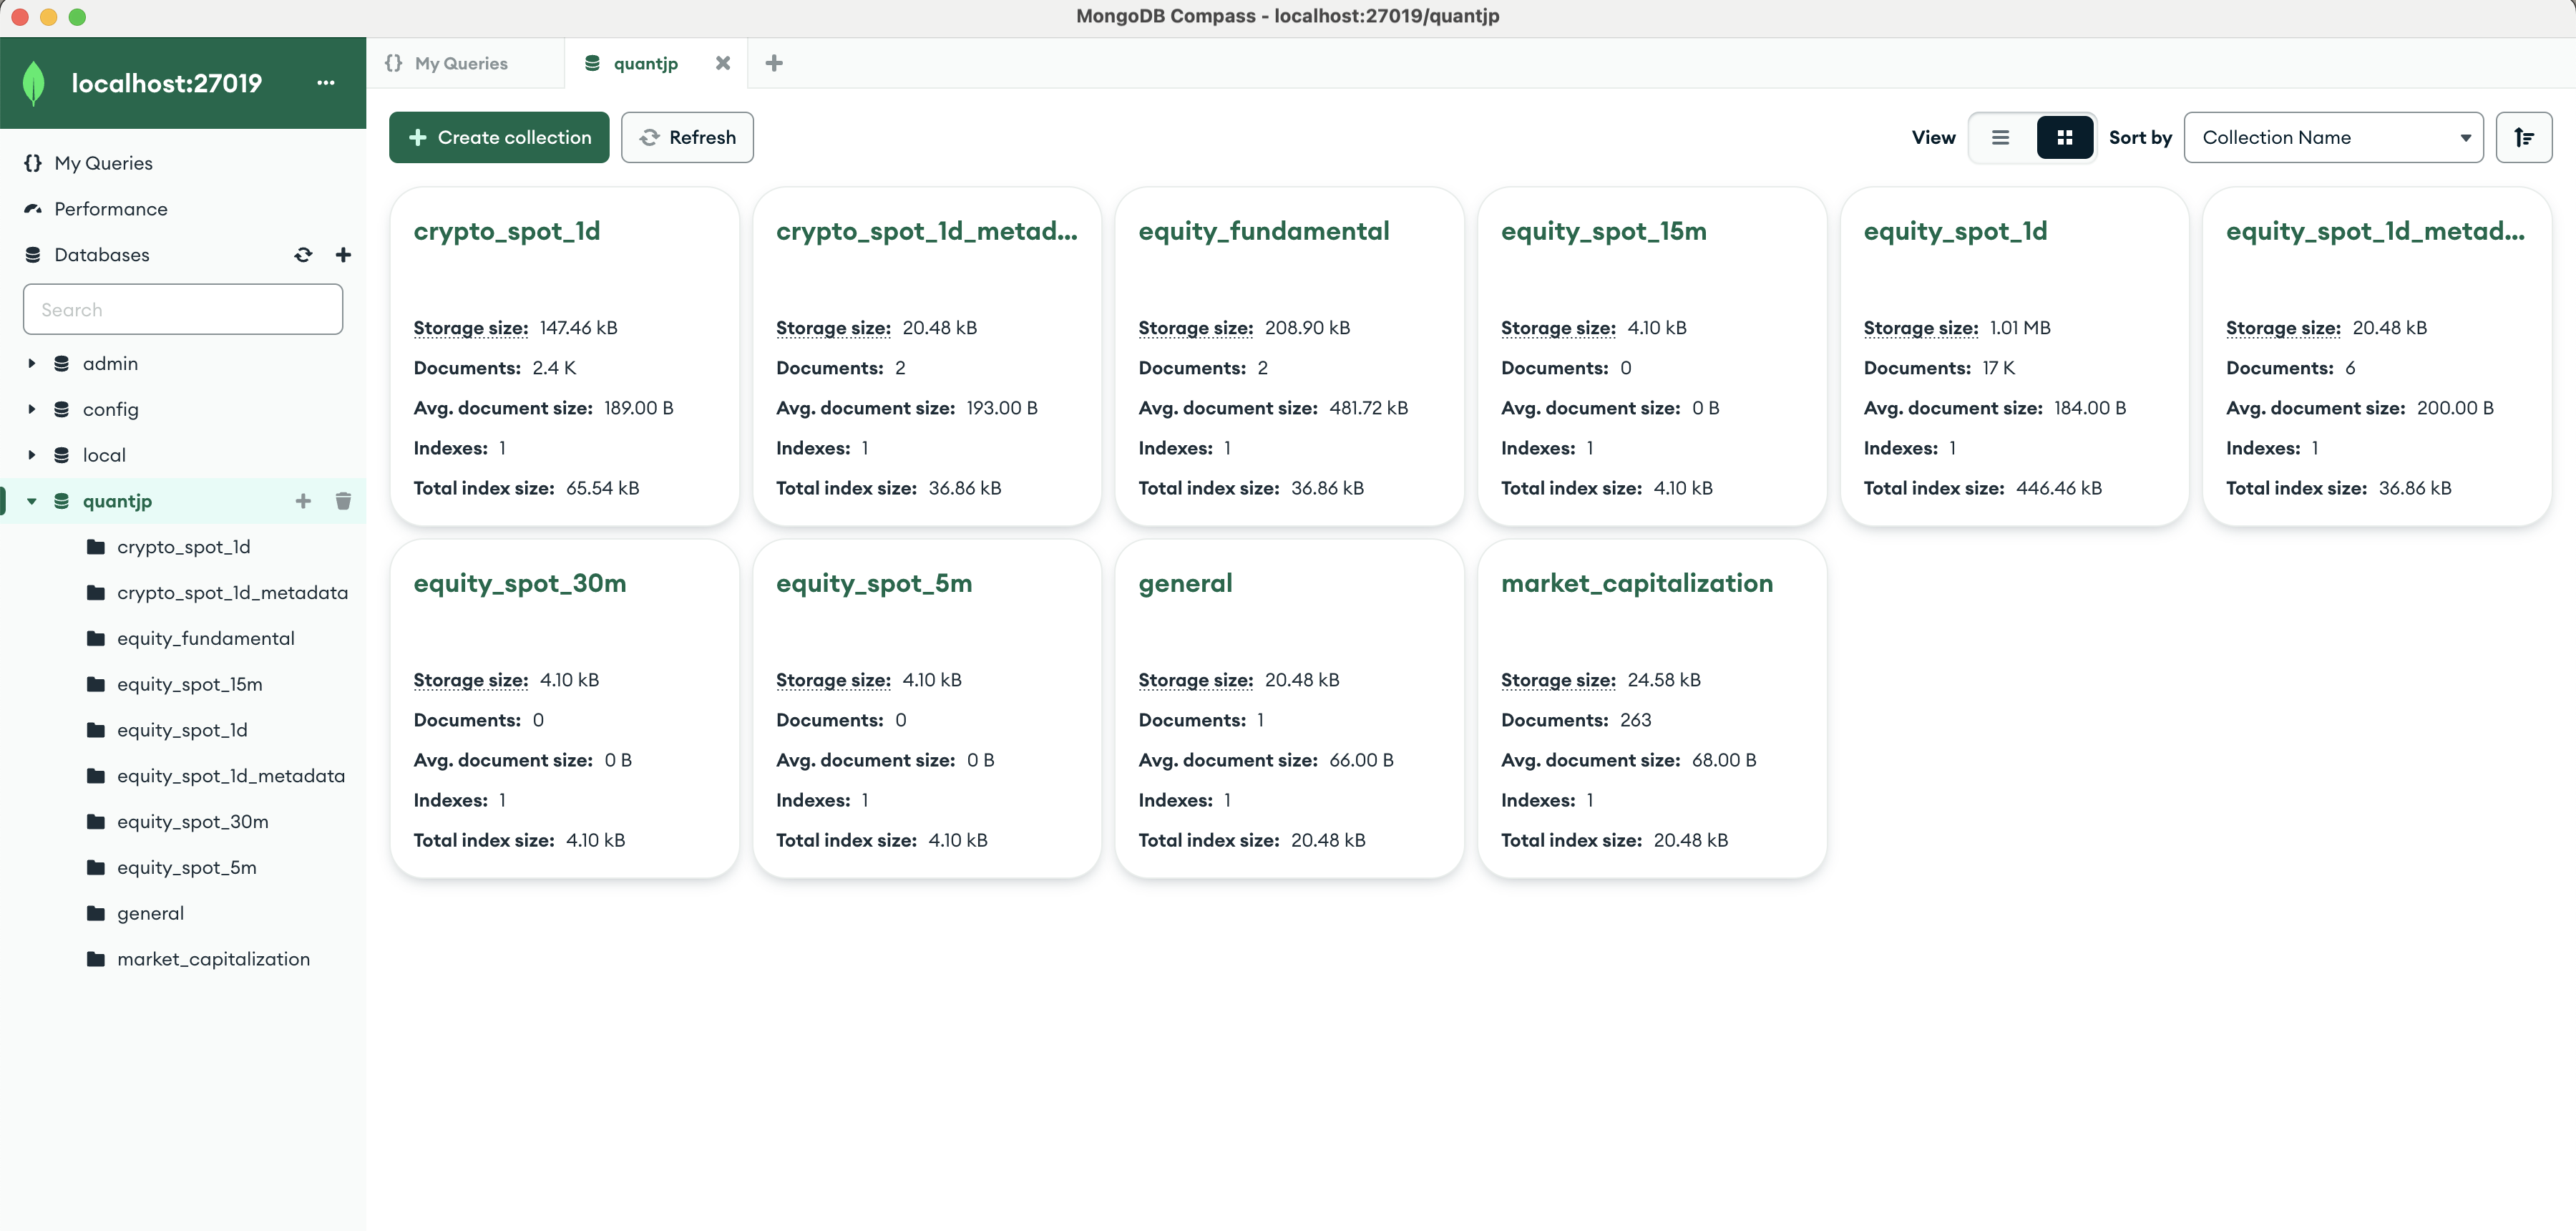
Please note I have more DBs (collections), which we will create while running our framework.
Congratulations! You have successfully installed MongoDB, created a database, user, and performed some basic operations using scripts.
Step 5: Running MongoDB in the Cloud with MongoDB Atlas
If you don't want to run MongoDB locally on your computer, you can use MongoDB Atlas, a cloud-based database service that provides robust features and scalability. To get started with MongoDB Atlas:
- Sign up for a free account at MongoDB Atlas.
- Follow the instructions to create a new cluster (MongoDB running as a cluster in the cloud).
- Configure your cluster settings, including region and instance size.
- Connect to your cluster using the provided connection string.
With MongoDB Atlas, you can easily manage and scale your MongoDB deployments in the cloud. The only difference will be modifying the config file in QuantJourney to access the cloud version.
The local version will be available as:
# Connect to local MongoDB instance
client = MongoClient('mongodb://localhost:27017/')
while the cloud version will be:
client = MongoClient('mongodb+srv://<username>:<password>@<cluster-url>/test?retryWrites=true&w=majority')
so only the URL will change.